macOS Mojave is the successor of macO High Sierra. It’s the fifteenth major release of macOS, Apple Inc.’s desktop operating system for Macintosh computers.
This tutorial will explain step by step how to install MAMP on MACOS Mojave.
The name MAMP is an acronym representing: macOS, the operating system; Apache, the web server; MySQL, the database management system; and PHP, Perl, or Python, programming languages used for web development (here it will be PHP).
Steps :
1- Starting Apache:
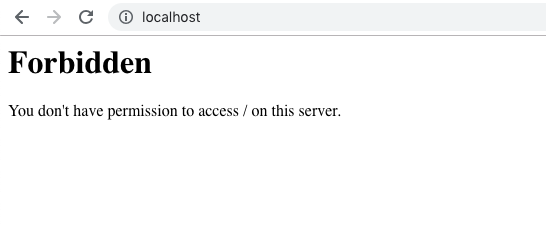
If you have a fresh installation, or you update to Mojave probably after entering localhost you will face the forbidden issue.
Below will the steps to fix it :
By default, the service Apache is installed on mac it needs only to be started.
#to check the appache version
httpd -v

#to stop appache service
sudo apachectl stop

#to start appache service
sudo apachectl start

#to restart appache service
sudo apachectl restart
sudo is used to give administrator access, in the first time, the shell will ask for the user password.
If everything work fine you will get this image when typing localhost in the browser

2- PHP and files configurations
The default System Level Web Root document is still found at
/Libarary/WebServer/Documents / and accessed through
http://localhost/ Now we will use the user level root to have something like: http://localhost/~username/
Before starting in this step you should determine you current username using the command:
whoamiwhoami is a concatenation of the words “Who am I?” and prints the effective username of the current user when invoked.
Now let’s create a Sites folder in the username home directory.
sudo mkdir ~/Sitesnavigate to the Apache folder & create username.conf in /users directory
cd /etc/apache2/users
#replace username by your username get in previous step
sudo nano username.conf
then add below and save. (replace the word username by yours )
<Directory "/Users/username/Sites/">
AllowOverride All
Options Indexes MultiViews FollowSymLinks
Require all granted
</Directory>
now open httpd.conf
sudo nano /etc/apache2/httpd.confand uncomment these (use ctrl + w for search):
LoadModule authz_core_module libexec/apache2/mod_authz_core.so
LoadModule authz_host_module libexec/apache2/mod_authz_host.so
LoadModule userdir_module libexec/apache2/mod_userdir.so
LoadModule include_module libexec/apache2/mod_include.so
LoadModule rewrite_module libexec/apache2/mod_rewrite.so
LoadModule php7_module libexec/apache2/libphp7.so
Include /private/etc/apache2/extra/httpd-userdir.conf
after finishing save the file (ctrl+x … then y) and exit.
Edit httpd-userdir.conf
sudo nano /etc/apache2/extra/httpd-userdir.confand uncomment
Include /private/etc/apache2/users/*.confResart appache
sudo apachectl restartAfter restarting visit localhost/~username from your browser. (replace the word username by yours ) .
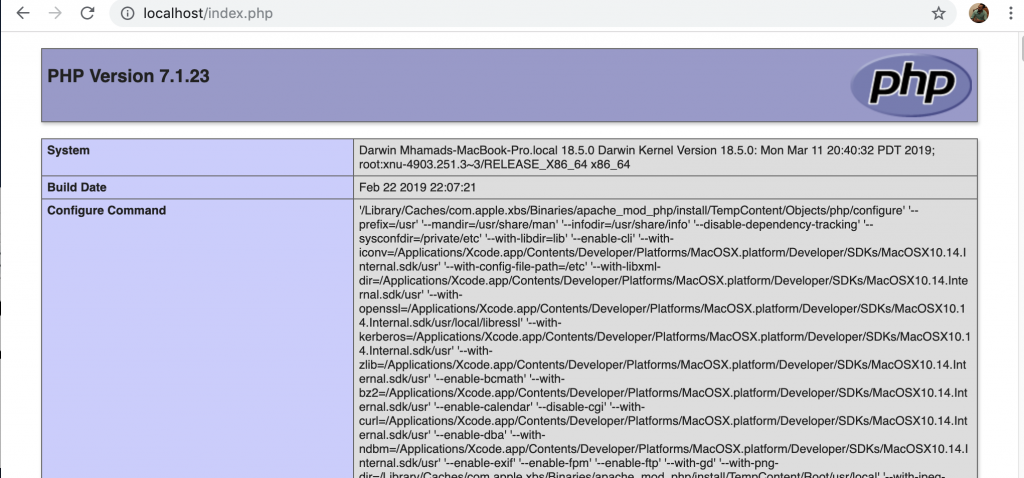
If you want to verify the installation, and the php version installed you can use the phpinfo function. Create a file in “/Library/WebServer/Documents/”.
sudo touch /Library/WebServer/Documents/index.php
sudo nano /Library/WebServer/Documents/index.php

<?php
phpinfo();
?>
if everything is ok you should get something similar to this when accessing http://localhost/index.php
3- MySQL installation
Download mySQL from MySQL official site. Use the macOS 10.14 (x86, 64-bit), DMG Archive. It’s compatible with Mojave.
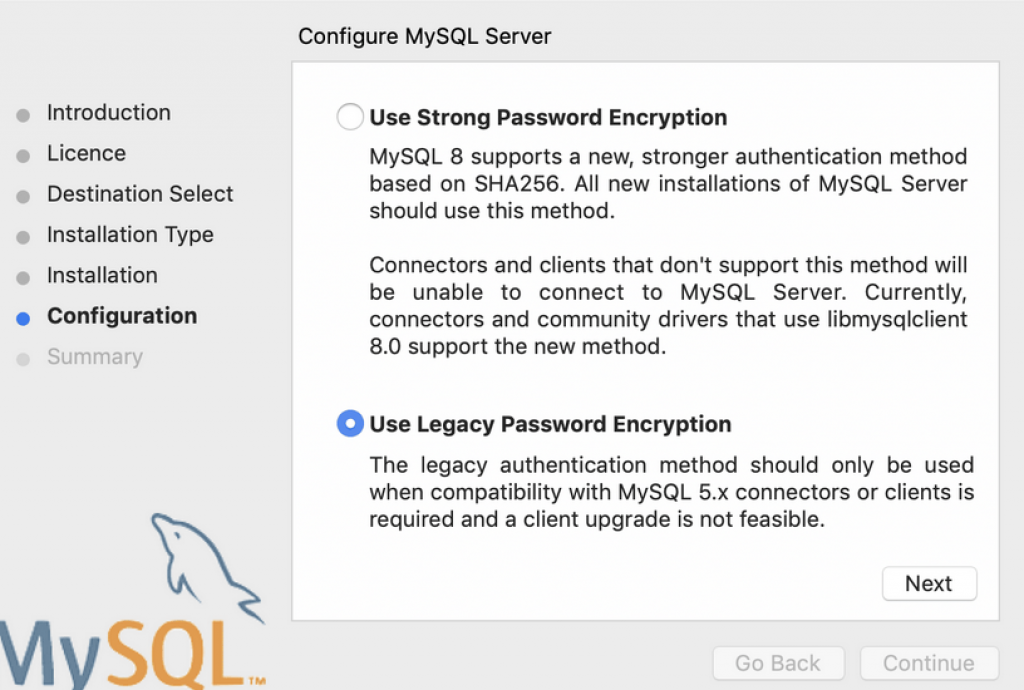
During the MySQL process you are prompted to choose between strong and legacy password encryptions, since version 8 is entirely new, some software like phpMyAdmin can’t connect with the newer encryptions — so if you are going to use a GUI wrapper like phpMyadmin I suggest you stick to legacy.
To make it easier accessing mysql console in future it’s better to add it to ur PATH. This is done in your “.bash_profile” file in your home directory, if you don’t have that file just create it using nano:
cd ;
nano .bash_profile
export PATH="/usr/local/mysql/bin:$PATH"
Exit the file with type “control + x” and then “y”.
After that reload the shell:
source ~/.bash_profileYou can then start the MySQL server from
System Preferences > MySQL > start mySQL server.
or
via the command line
mysql startWhen trying to accessing mySQL you may face issue like : 2002 socket error
you can fix it by:
sudo mkdir /var/mysql
sudo ln -s /tmp/mysql.sock /var/mysql/mysql.sock
If you still unable to access the database the problem can be that the database isn’t initialized. So go to :
System Preferences > MySQL > Initialize Database
4- phpMyAdmin Installation
Download phpMyAdmin from their official site. In this tutorial i downloaded: “phpMyAdmin-4.8.5-all-languages.zip”.
Unzip it, rename the folder to “phpmyadmin” and then move it to ~/Sites/.
Create a config folder
mkdir ~/Sites/phpmyadmin/configand then enter http://localhost/~username/phpmyadmin/setup/. (replace username by yours)
Click on new server > Authentication and fill it with the username and password. (these should be the same used when creating the database , or you can create a different user).
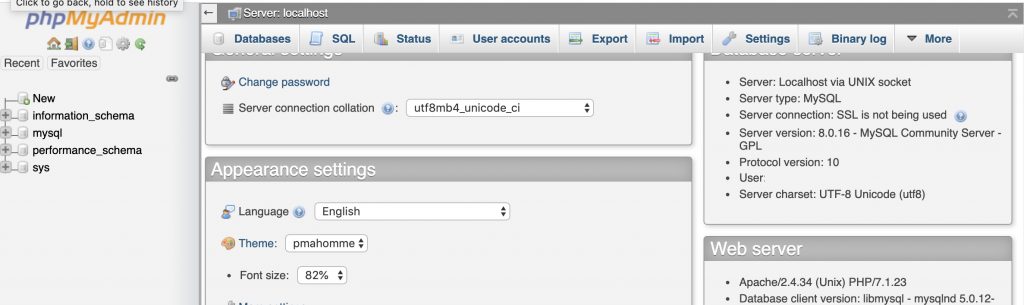
Finally visit : http://localhost/~username/phpmyadmin/ (replace username by yours).
Congrats …… Feel free to share